
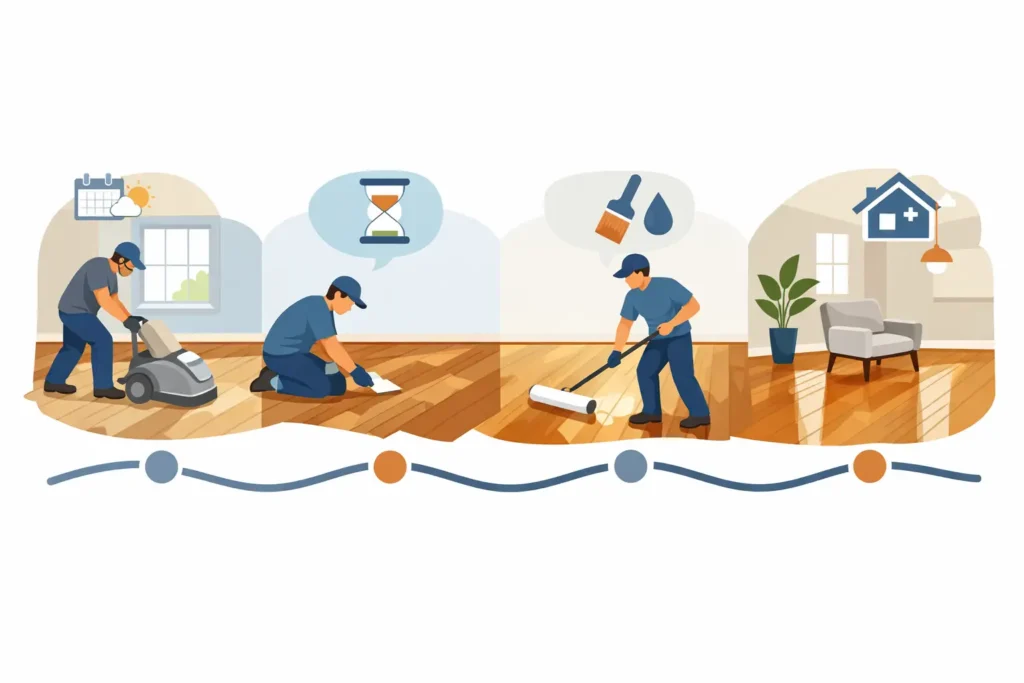
A worn floor can make an entire room feel dated, but the right restoration process brings back warmth, color, and lasting protection without turning your home upside down. This hardwood floor refinishing timeline day by day explains what Connecticut homeowners can realistically expect, from the first walkthrough to returning furniture to the room. With Dustless Hardwood Floors LLC, our proprietary dustless sanding system leaves zero dust in the home, making the process cleaner and more comfortable for families, pets, and allergy-sensitive households.
Every floor has its own history. Deep scratches, pet wear, sun fading, old finish buildup, water marks, repairs, and the type of finish you select can all affect the schedule. Most standard projects are completed in two to four working days, followed by essential curing time before normal use resumes.
Before Day One: Inspection, Planning, and Preparation
A dependable refinishing schedule starts before equipment enters your home. A licensed professional examines the floor’s condition, identifies damaged boards or loose areas, checks previous coatings, and confirms whether the floor can be sanded safely. Solid hardwood can often be refinished multiple times, while engineered hardwood needs a more careful evaluation because its top wood layer may be thinner.
This is also when you choose the final look. Natural clear finishes preserve the wood’s original character. A stain can deepen the tone, reduce the appearance of uneven color, or help floors coordinate with a renovation. Samples are especially valuable when a floor has sun fading, species variation, or existing repairs.
Before the scheduled start, remove furniture, rugs, small décor, and fragile items from the work area. Make a plan for pets and children to stay clear of the active work zone. You do not need to prepare for a house filled with sanding residue: our state-of-the-art dustless system captures material at the source and leaves zero dust in the home. That is a major advantage for busy households throughout Hartford County and beyond.
Day 1: Dustless Sanding Restores the Wood
The first working day is where the transformation begins. The existing finish, surface scratches, dullness, and discoloration are carefully removed to reveal clean, bare hardwood underneath. Professional sanding is not simply about making a floor look lighter. It creates a level, receptive surface so the new stain and finish can bond correctly and wear evenly.
Our dustless sanding process is designed to protect the comfort of your home while delivering a precise result. Instead of leaving residue throughout living spaces, proprietary collection equipment contains it during the sanding process. Homeowners get the benefit of a clean work environment without the traditional cleanup burden associated with floor restoration.
Depending on the room size and condition of the floor, Day 1 may also include edge work, detailed sanding around trim, and minor repairs. Small gaps, nail holes, or isolated board damage can often be addressed at this stage. If boards need to be replaced or a floor has significant water damage, the project may require additional time. This is why an honest inspection matters more than a one-size-fits-all promise.
By the end of the day, the wood usually looks dramatically different. It may appear lighter or more varied than expected because the old finish is gone. That is normal. The final color and sheen will not be visible until stain, if selected, and protective finish are applied.
Day 2: Final Detail Work, Stain, and First Finish Coat
Day 2 is focused on detail. The floor receives final surface preparation so it feels smooth and looks consistent from one board to the next. Any remaining imperfections are assessed before color or finish is applied.
If you have chosen a stain, this is generally the day it is applied. Stain needs time to dry thoroughly before a protective topcoat goes on. Darker colors, humid Connecticut weather, dense wood species, and floors with uneven absorption can extend this step. Rushing stain drying is never worth the risk of an inconsistent finish or compromised durability.
For natural floors or projects using a clear finish, the first protective coat may be applied on Day 2. Modern low-odor, high-quality finishes offer beautiful protection while helping homeowners maintain a more comfortable indoor environment. The exact product and number of coats depend on the floor, the desired sheen, and how the room will be used.
A hallway used by children and pets needs a finish plan built for daily traffic. A formal dining room may prioritize a particular sheen or color depth. The goal is not just a beautiful floor on completion day, but a finish that continues to perform in real life.
Day 3: Protective Coats and a Finished Appearance
For many hardwood floor refinishing projects, Day 3 is the finishing day. After the prior coat has dried as required, the surface is lightly prepared between coats to promote adhesion and a refined feel. Then the final protective coat is applied.
This is when the floor takes on its finished appearance. Satin remains a popular choice because it offers a warm, understated look and tends to make everyday marks less noticeable than higher-gloss finishes. Matte finishes can create a modern, natural appearance, while semi-gloss offers more reflectivity. No sheen is universally best – your lighting, wood species, household activity, and design preferences should guide the choice.
At this point, the floor may look ready to use, but appearance and full cure are different things. The finish needs time to harden properly. A professional contractor will give you clear instructions based on the specific finish used, rather than offering a vague answer that could put your investment at risk.
Day 4 and Beyond: Dry Time Is Not Full Cure Time
Most floors can handle light sock-foot traffic after the contractor’s recommended dry period, often within a day of the final coat. However, full curing takes longer. During this period, avoid dragging furniture, placing rugs, or allowing pets to run across the floor. Heavy furniture should only return when the finish has hardened enough to support it safely.
As a practical guideline, homeowners are often advised to wait several days before carefully returning furniture and longer before placing area rugs. Rugs can trap moisture and interfere with curing, so patience here protects the appearance of the finish. Felt pads under furniture legs are also a simple, effective safeguard when the room is put back together.
Humidity and temperature can affect drying and cure times. Connecticut’s seasonal conditions are one reason experienced local refinishing guidance is valuable. A responsible contractor evaluates the home environment and communicates realistic expectations rather than treating every project the same.
What Can Extend the Refinishing Timeline?
A straightforward bedroom or living room with a natural finish may move quickly. Larger connected spaces, intricate layouts, staircases, major repairs, custom stains, and older floors with difficult coatings can add time. The same is true when a homeowner requests color matching between new and existing hardwood.
Water damage deserves special attention. Surface stains may sand out beautifully, but boards that are cupped, warped, loose, or structurally compromised may need repair or replacement before refinishing can begin. Refinishing improves the floor’s surface and protection, but it cannot correct every underlying moisture issue. Identifying and addressing the source of water is part of protecting the finished result.
The best timeline is one that protects quality. Skipping dry time or shortening coat intervals may seem convenient, but it can lead to avoidable damage and reduce the life of the finish.
A Cleaner Way to Plan Your Floor Transformation
A clear schedule makes refinishing feel manageable. You know when the work begins, what happens each day, when the floor can take light traffic, and when it is safe to fully reset the room. More importantly, you can restore hardwood without accepting dust throughout your home.
Dustless Hardwood Floors LLC is licensed and insured in Connecticut, and our process is built around clean results, transparent communication, and durable craftsmanship with no hidden fees. Whether you are preparing a home for sale, updating an investment property, or bringing life back to the floors your family uses every day, a professional assessment gives you a timeline based on your actual floor – not a guess.
Get Quote Now to plan a clean, zero-dust hardwood floor restoration that fits your home, your schedule, and the way you live.