A hardwood floor refinishing project should leave your home looking better, not turn your routine upside down. If you are wondering how to prepare for dustless refinishing, the good news is that the process is much easier than most Connecticut homeowners expect. With the right prep, you can protect nearby belongings, keep the schedule on track, and enjoy beautifully restored floors without the cleanup headaches people often associate with older sanding methods.
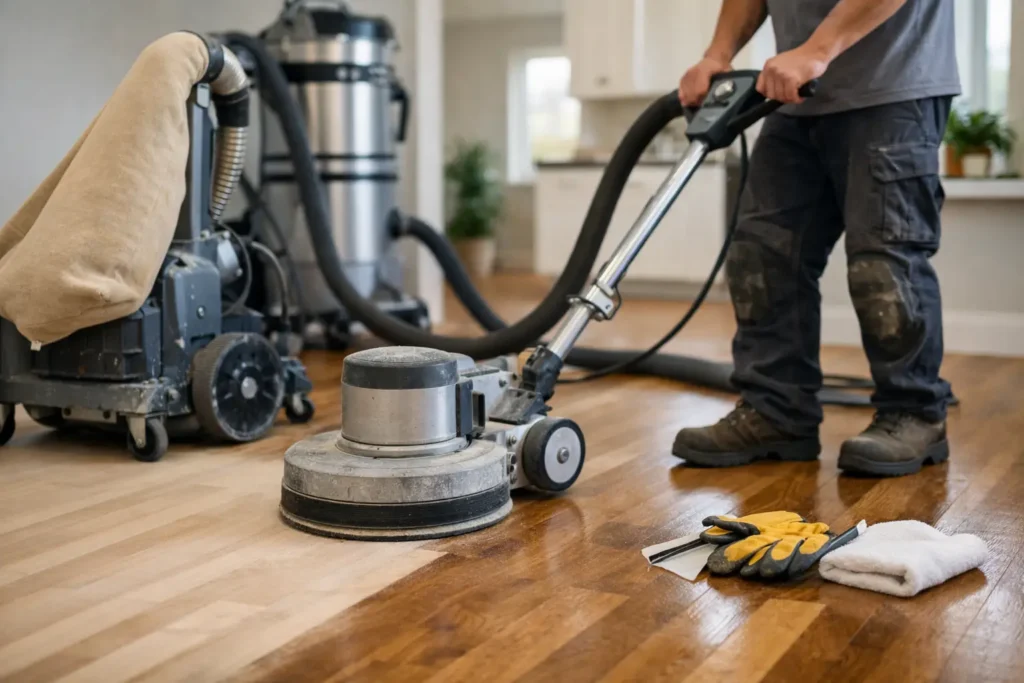
At Dustless Hardwood Floors LLC, preparation is all about making the job smoother for you. Our proprietary dustless sanding system leaves zero dust in the home, which is a major advantage for families with children, pets, and anyone sensitive to indoor air quality. You still want to get the space ready, but the focus is on access, efficiency, and protecting valuables – not bracing for a construction-zone experience.
How to prepare for dustless refinishing before the crew arrives
The first step is clearing the floor completely. Furniture, rugs, floor lamps, pet beds, baskets, and anything else resting on the hardwood should be removed before the scheduled start date. If the room has a lot of small decor items, it helps to pack them the day before so nothing gets overlooked in the morning.
This part matters for two reasons. First, an open room allows the refinishing team to work efficiently and keep the timeline predictable. Second, it protects your belongings from accidental scuffs while furniture is being moved around. If you have especially heavy pieces, ask in advance whether they should be moved by you or coordinated ahead of time.
You will also want to clear nearby surfaces that hold fragile or valuable items. Even though a true dustless system leaves zero dust in the home, it is still smart to remove tabletop decor, electronics, artwork leaning on the floor, and breakables from adjacent work zones. Think of it less as disaster prep and more as giving the crew a clean, simple workspace.
Focus on access, not damage control
One of the biggest misconceptions about refinishing prep is that homeowners need to seal off the house, cover every opening, or prepare for days of lingering residue. That is not the case with professional dustless refinishing. The better approach is to make entry points and work areas easy to access.
If possible, plan a clear path from the exterior door to the project area. Move shoes, storage bins, umbrella stands, and hallway furniture that could slow things down. In homes with tight entryways or busy mudrooms, this small step can make the start of the project far more efficient.
If your floors connect to other high-traffic areas like kitchens or family rooms, ask your contractor how those transitions will be handled. Sometimes it makes sense to limit foot traffic through one part of the house for a day or two. Sometimes the layout allows for normal use of surrounding spaces with only minor adjustments. It depends on the floor plan, the finish being applied, and whether the work is happening in one room or across a larger area.
What to do with pets and children
Families often ask whether they need to leave the house entirely. In many cases, no. Because dustless sanding eliminates the dust concerns that make traditional methods so unpleasant, the conversation is usually about comfort and safety rather than relocation.
That said, it is wise to have a plan for children and pets during active work hours. Younger kids may be curious about equipment, and dogs especially tend to investigate any change in routine. For that reason, arrange a separate room, a gate, or a short visit with family if needed while the crew is working. The goal is simple – keep everyone safe and keep the project moving without interruption.
For cats or anxious dogs, a quieter part of the home usually works best. Bring food, water, bedding, and toys into that space ahead of time so they stay settled. If your pet is highly sensitive to noise or unfamiliar activity, boarding for the day may be the easiest option, but it is not always necessary.
Prepare for the schedule you actually have
Refinishing goes more smoothly when homeowners plan around real timing instead of best-case assumptions. Before the project starts, confirm the expected start time, daily work window, and when you will be able to walk on the floors again. If furniture needs to stay off the surface for a certain period after finishing, know that in advance so you are not making last-minute decisions.
This is especially important for busy households in places like West Hartford, Manchester, and Glastonbury, where school pickups, work-from-home schedules, and weekend plans all compete for space. A little coordination prevents frustration later.
If the refinishing is happening in a room you use every day, think through your routine before the crew arrives. Where will you eat breakfast if the dining room is being done? Which entrance will you use if the main hallway is part of the job? Where will you place everyday items that are normally stored in the room? These are small questions, but answering them early makes the entire experience feel organized.
Check the floor itself before refinishing day
If you want the best result, tell your contractor about any problem areas before work begins. Deep scratches, pet stains, loose boards, squeaks, soft spots, previous patchwork, and signs of water damage can all affect the refinishing plan. Most of these issues can be addressed, but surprises are easier to manage when they are identified early.
This is also the time to discuss color expectations. If you are changing stain color, understand that species, age, and past finishes can affect the final look. A homeowner hoping for a dramatic transformation may need a quick conversation about what is realistic for their particular floor. That is not bad news – it is how you avoid disappointment and choose a finish that works with your home.
Decide what stays and what goes
Window treatments, wall-mounted TVs, and large furniture in nearby rooms usually do not need major changes, but smaller soft goods should be considered. Area rugs, fabric bins, floor-length curtains that touch the hardwood, and decorative baskets are best removed from the immediate area.
Plants are another detail homeowners forget. Move potted plants off the floor and out of the work zone before the project begins. This protects both the plants and the floor, especially if water trays or damp soil are involved.
Questions worth asking before dustless refinishing starts
Knowing how to prepare for dustless refinishing also means knowing what to confirm with your contractor. Ask what time the crew will arrive, how long each phase should take, when the room can be used again, and whether any repairs are recommended before sanding begins. If you have pets, children, or a tight household schedule, bring that up during planning instead of trying to solve it on the fly.
It also helps to ask about furniture return timing and any simple aftercare instructions for the first few days. A professional contractor should be clear, direct, and easy to work with. That level of communication is part of what makes the project feel low-stress from start to finish.
For homeowners who have only heard stories about older refinishing methods, the difference is significant. A licensed and insured specialist using a true dustless system can restore your floors while keeping the home clean, comfortable, and family-friendly.
The easiest way to get ready
The best preparation is practical, not complicated. Empty the room, protect valuables, plan your traffic flow, and ask questions before day one. Once that is handled, the process becomes much simpler. You are not preparing for a house full of residue or a major cleanup afterward. You are preparing for a professional floor restoration with clean results and a far easier experience.
That matters whether you are refreshing original hardwood in an older Connecticut home, getting a property ready for sale, or restoring worn floors in a busy family room. Beautiful floors should feel like an upgrade from the start, and the right preparation helps make sure they do.